External Storage
This feature is not available with Genymotion Desktop at this time.
This feature is not available with Genymotion SaaS at this time.
It is possible to migrate an instance /data partition via external disks: any attached external disk will be used as internal storage by the Android OS (the /data partition). In that case, the /data partition that belongs to the primary disk won't be used. This disk can then be migrated to another instance if it runs with the same Android version.
This section provides you with detailed guides for each Cloud platform.
Generate and attach an external disk
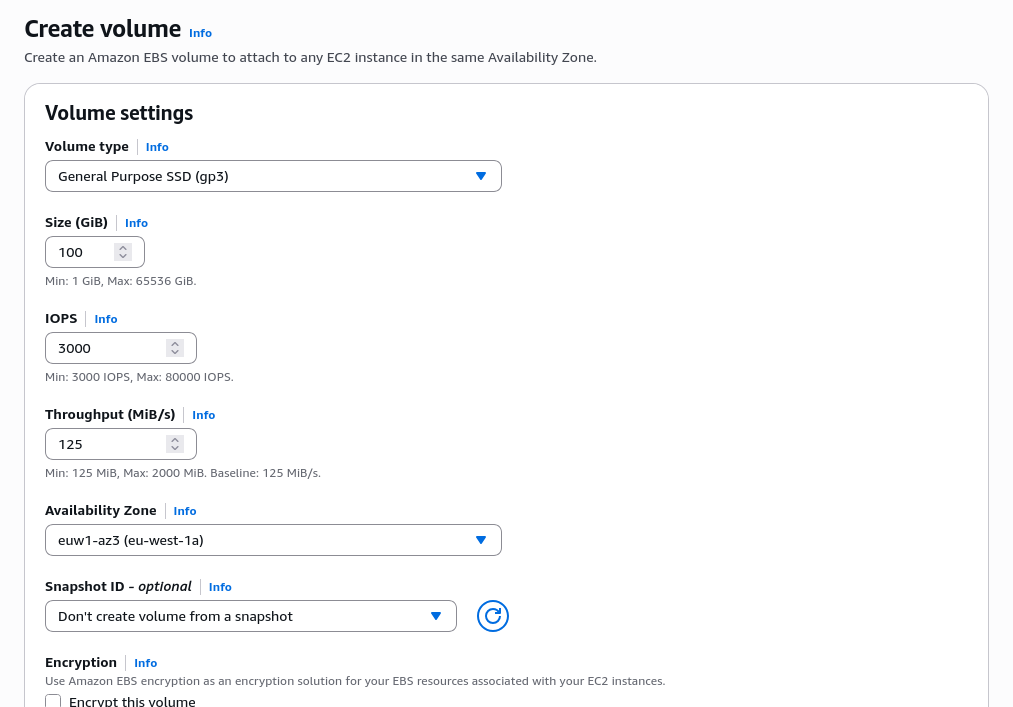
- Create a new EBS volume from the EC2 console (Elastic Book Store > Volumes > Create Volume):
- Select the newly created volume and click on Actions > Attach Volume:
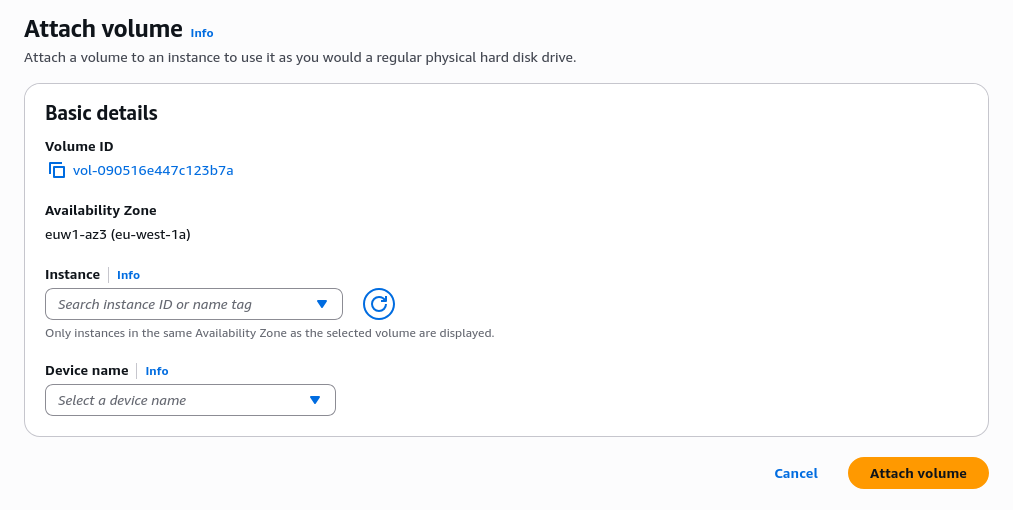
- Select the instance you wish to attach this volume to, choose a device name such as "/dev/sdb"
- Click Attach Volume to confirm
- Start the instance
From this point the external disk will be mounted on /data and will be seen as the instance internal storage by the Android OS.
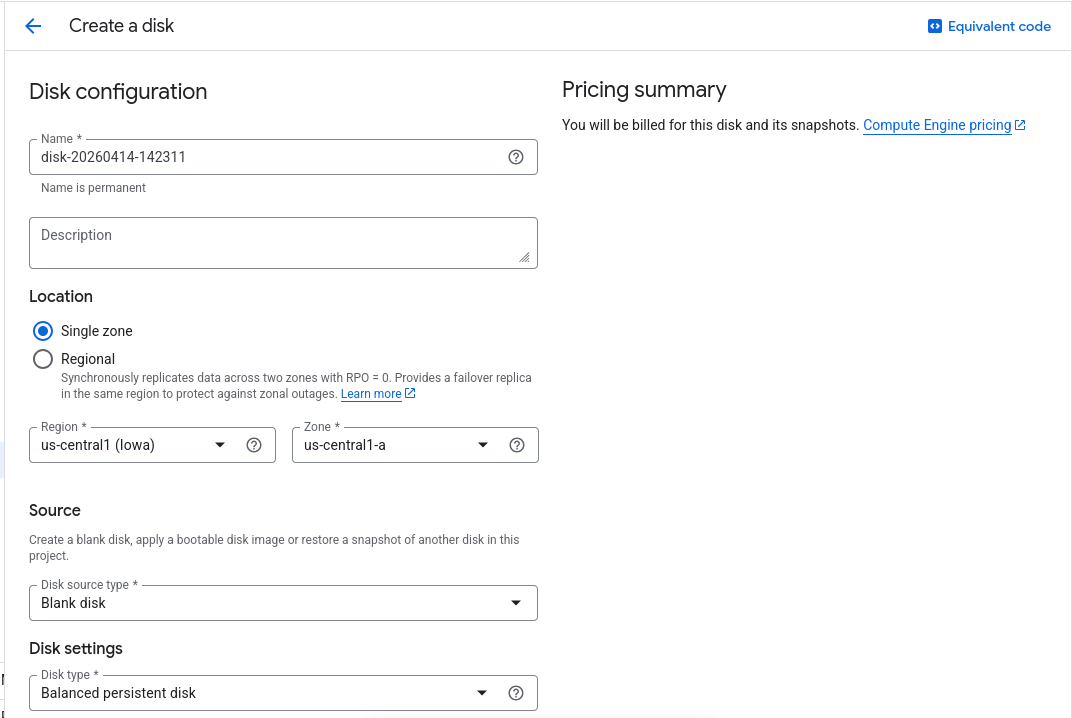
- Go to the Disks section of the Compute Engine console, and click on Create Disk to create a new volume:
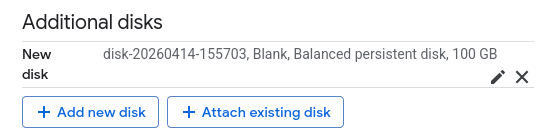
- Edit your instance details, and go to the Additional disks section:
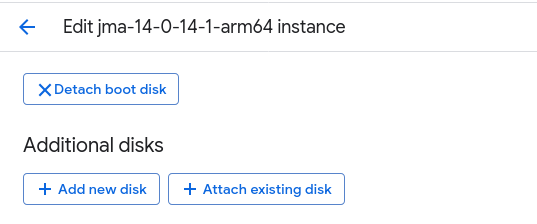
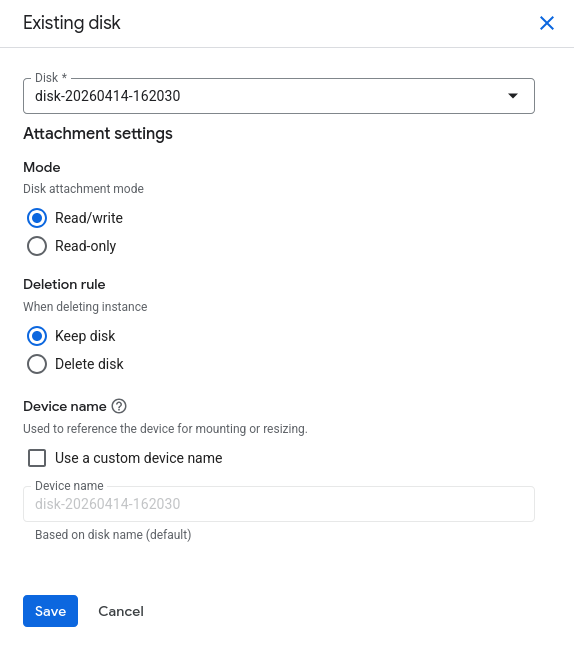
- Click on Attach existing disk and select the disk you created, and click Save:
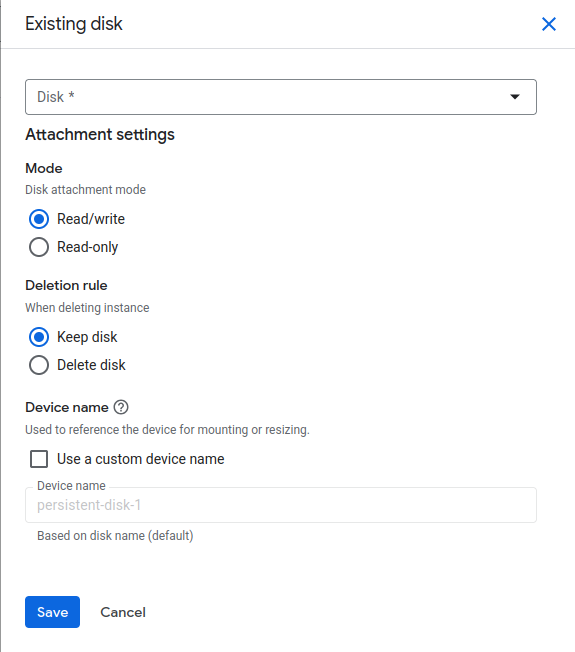
- Click Save
- Start the instance
From this point the external disk will be mounted on /data and will be seen as the instance internal storage by the Android OS.
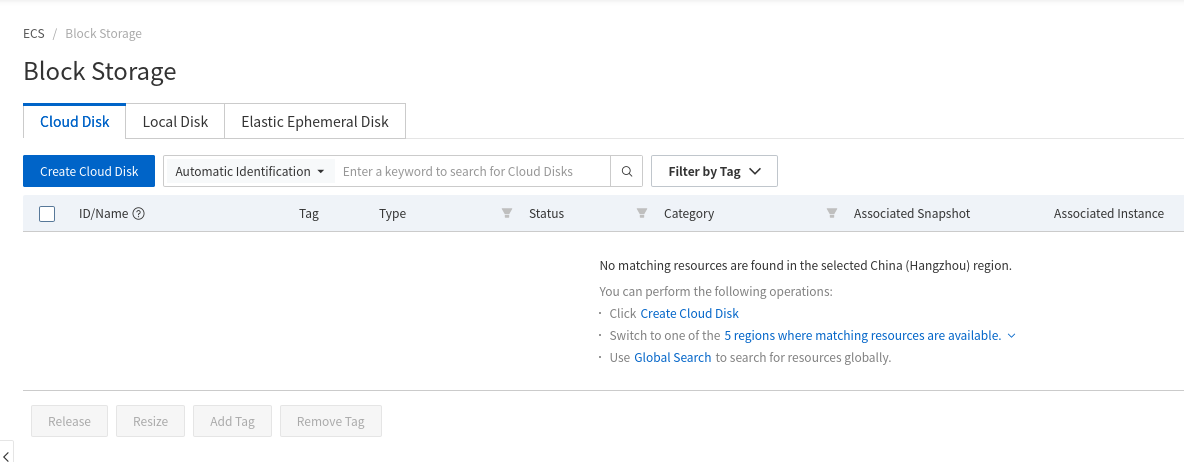
- In the ECS console, in the Storage & Snapshots section, go to Block Storage and click "Create Cloud Disk":
- Select Attach to ECS instance and select the instance you wish to attach this volume to:
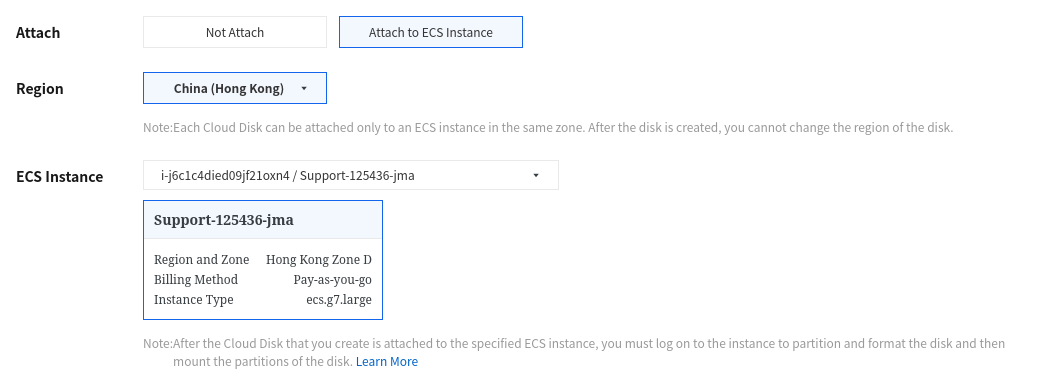
- Click Create Order to complete the Cloud Disk creation and attachment
- Start the instance
From this point the external disk will be mounted on /data and will be seen as the instance internal storage by the Android OS.
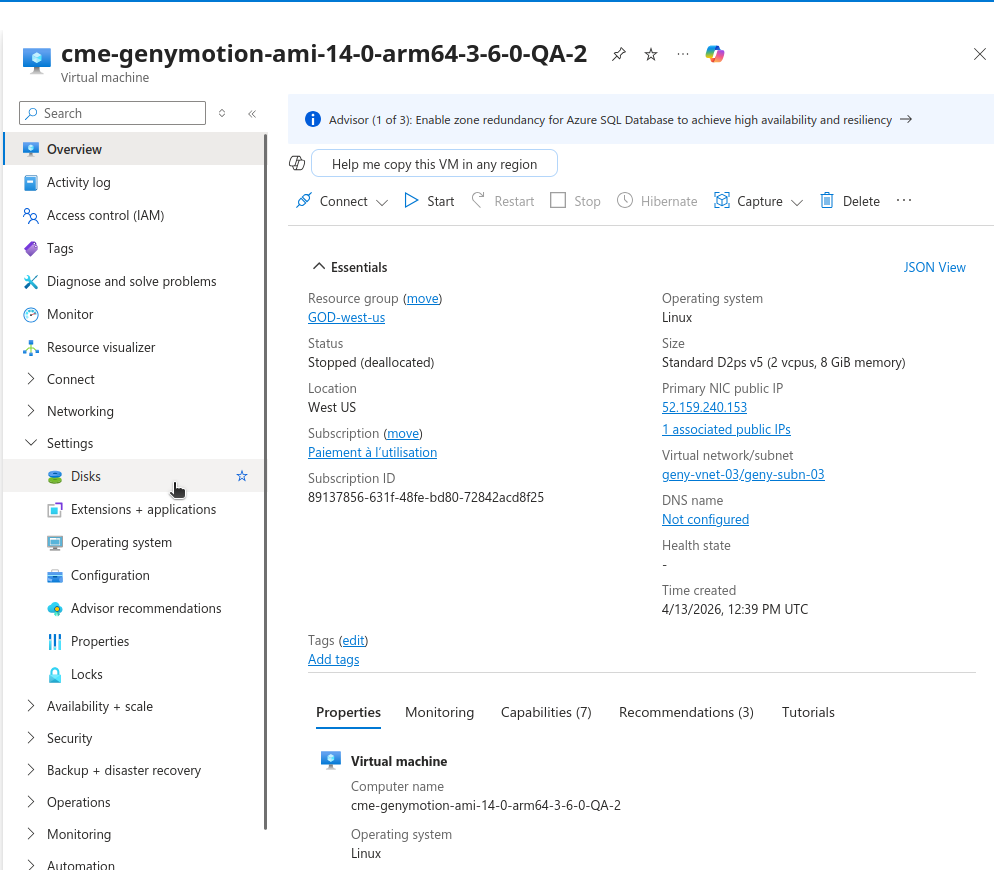
- Go to Virtual Machines and click on your virtual machine (make sure it is Stopped)
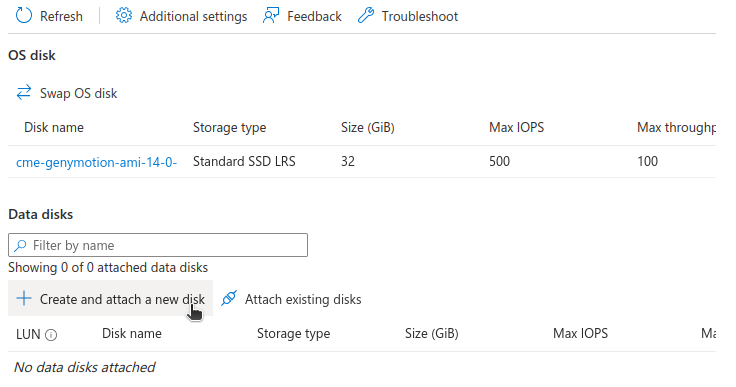
- Go to Settings > Disks:
- In the Data Disk section, click Create and attach a new disk:
- Set the name, size and type to your needs and click Apply:
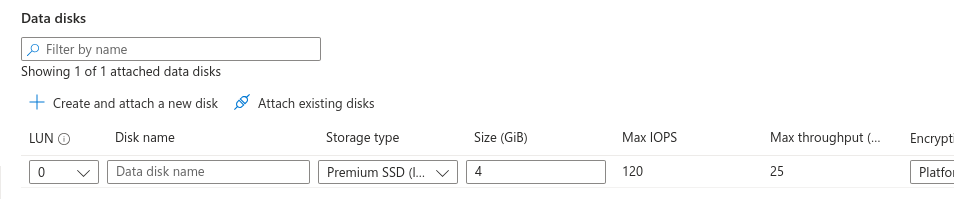
- When the disk is attached, start the virtual machine
From this point the external disk will be mounted on /data and will be seen as the instance internal storage by the Android OS.
It is also possible to create the external disk when creating the instance.
Migrate the external disk to another instance
The original and target instances MUST have the same Android version, or your target instance may become unusable.
- Make sure that both the original and target instances are powered off
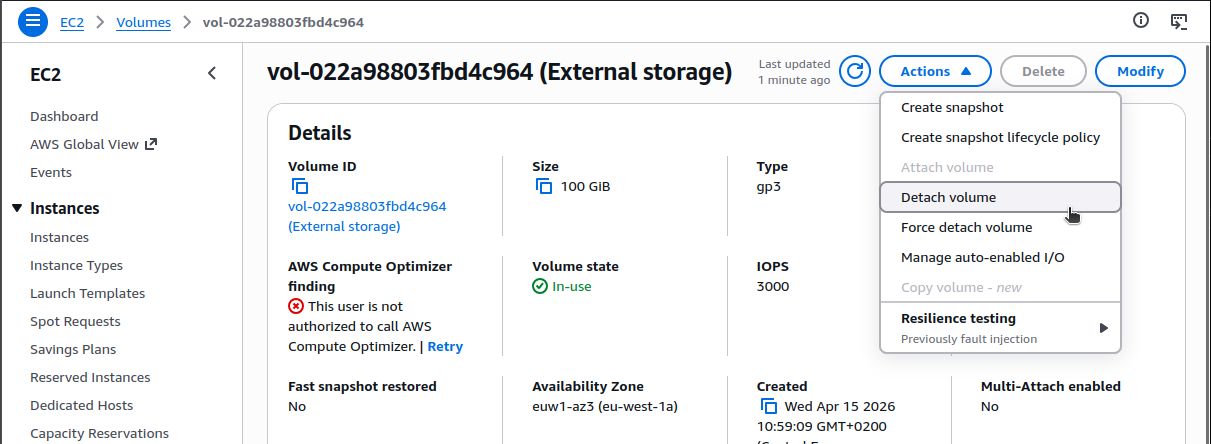
- Detach the external volume from the original instance: in the instance details, go to "Storage" tab, click on the external volume, then click on Actions > Detach volume:
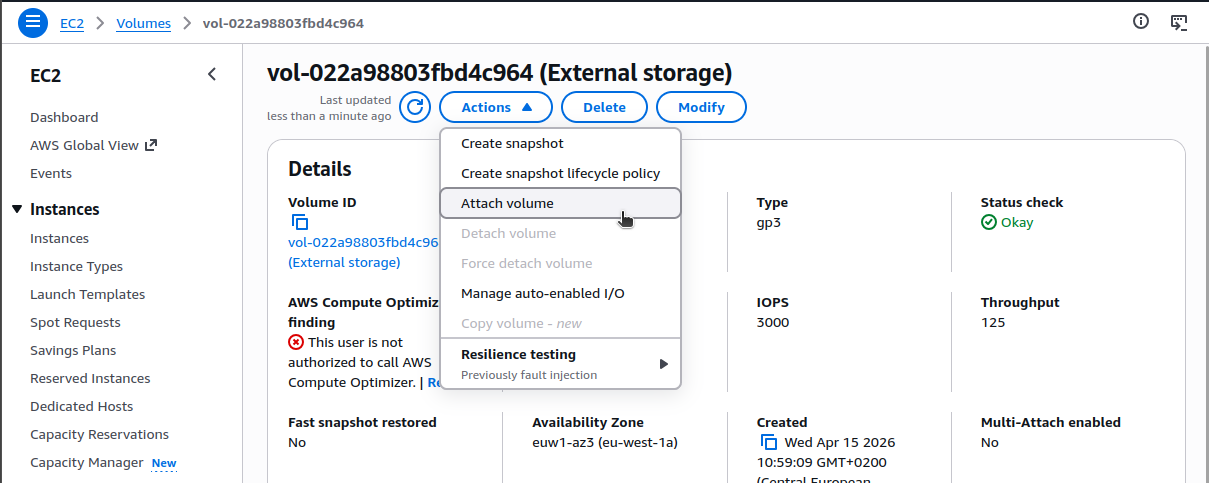
- From Elastic Book Store > Volumes, select the volume, click on Actions > Attach volume:
- Select the target instance and the device name:
- Click Attach volume
- Start the target instance
- Edit your original instance details and remove the external disk in the Additional disks section:
- Edit your target instance details and add the external disk in Additional disks > Attach existing disk:
- Click Save
- Launch the instance
- Make sure that both the original and target instances are powered off
-
Detach the Data Disk from the original instance:
-
Attach the Disk to the target instance:
-
Start the target instance
- Make sure that both the original and target virtual machines are powered off
- Go to Virtual Machines and click on the original instance (make sure it is Stopped)
- Go to Disks
- In the Data Disk section, click next to the external disk you wish to detach:
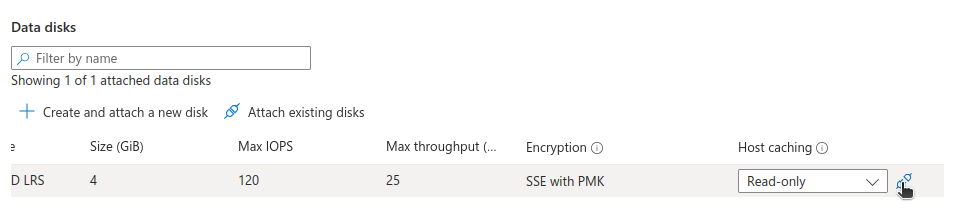
- Click Apply
- Open the target virtual machine and go to Disks
- In the Data Disk section, click Attach existing disk:
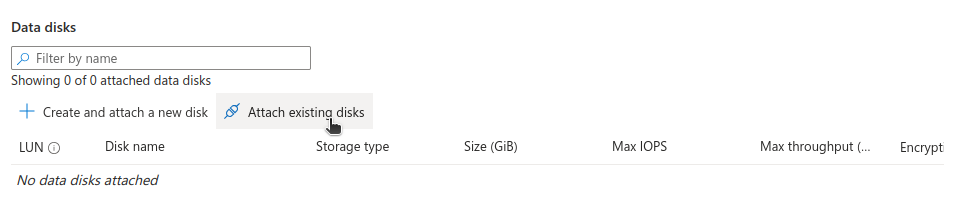
- In the Disk name drop-down box, select the external disk
- Click Apply
- Start the target virtual machine
The original instance internal storage /data will then replace the target instance one - all the applications and settings installed in the original instance will be available in the target instance.