Genymotion SaaS Overview
This page presents the web interface which can be accessed from https://cloud.geny.io
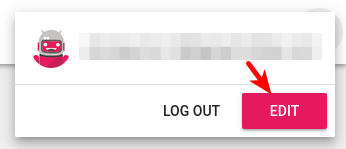
Profile
You can access your account details by clicking and Edit:

Avatar
We use the Gravatar service for your profile picture. This service, used by many websites, allows you to define an avatar once and have it automatically displayed on all websites using it.
To set up your avatar, simply click Create your own Gravatar, create an account and follow the instructions. Your picture will then automatically be displayed on Genymotion SaaS.
Name
Your first and last name are only used within Genymotion SaaS and emails to identify your virtual devices, ease accounts management and call you by your name.
Change Password
You can change your password here. These fields are not required to change your name nor avatar.
Datacenter
The organization data center location is displayed in the upper-right corner of the top toolbar:
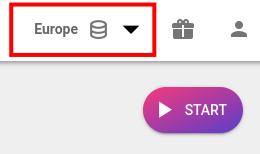
If you are an administrator of the organization, you can switch data center by clicking to expend the drop-down list and select another data center:

Only administrators can change the data center.
Virtual devices
This page lists the virtual devices currently running in Genymotion SaaS:
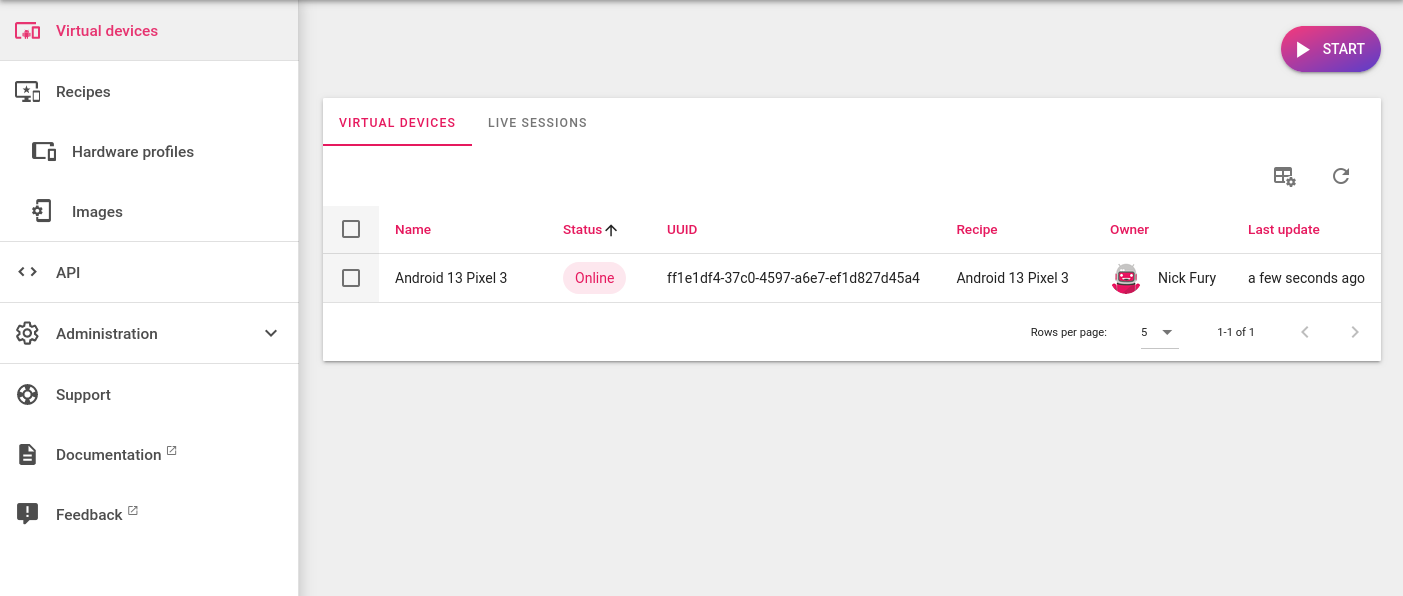
You can view which user has an active virtual device, the virtual device name, the person who shared the virtual device, the creation date and time of the virtual device. You can also sort this information by clicking on each column titles.
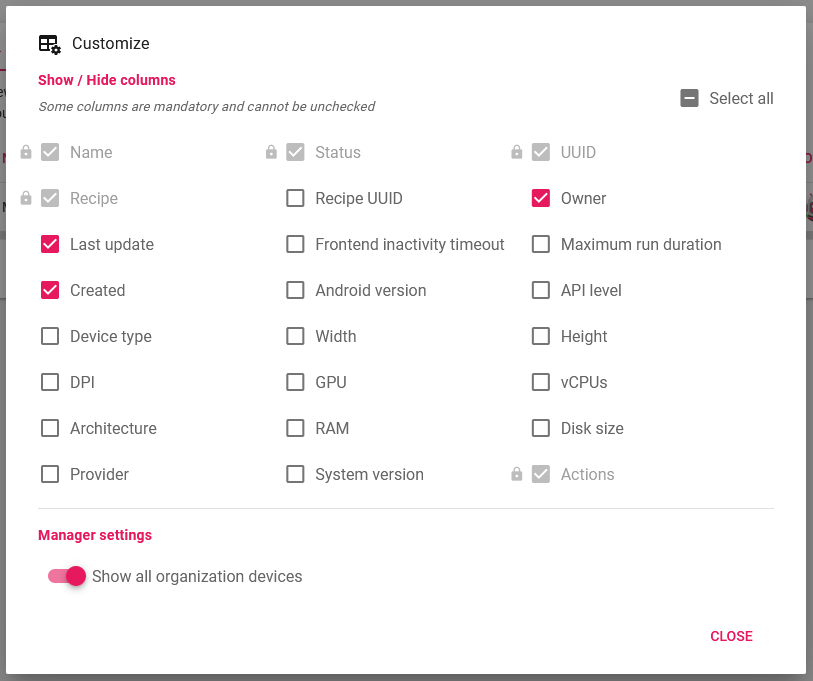
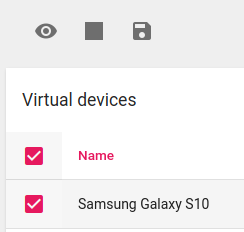
The view can be customized by clicking . You can also choose to show all your organization devices or only yours in the Manager settings section:
When the Refresh button is highlighted, new data is available. Click  to update.
From here, you can also perform the following actions for the organization virtual devices:
- Display
- Stop
- Save recipe
- Message owner
either by selecting one or more devices using the checkboxes:
or by clicking / / / on the desired virtual device:


Devices life-cycle
A virtual device can have the following statuses:
| Status | Description |
|---|---|
| Creating | Genymotion is configuring a new virtual device based on the chosen recipe. |
| Starting | The virtual device is starting. |
| Booting | Android is booting on the virtual device. |
| Online | The virtual device is running and ready to use. |
| Saving | Genymotion is saving the virtual device configuration as a recipe. |
| Saved | The recipe has just been saved, the virtual device will stop soon. |
| Stopping | The virtual device is stopping. |
| Offline | The virtual device is now stopped. |
| Recycled | The virtual has been automatically shut down according to your settings. |
| Expired | The virtual device has been stopped because your license has expired. |
| Revoked | The virtual device has been stopped due to a problem with your subscription. |
| Error | The virtual device has stopped unexpectedly. |
Start
You can also quick start a new virtual device by clicking 
Recipes
Recipes are a combination of hardware profiles and images. You can view the different types of recipes from this page:
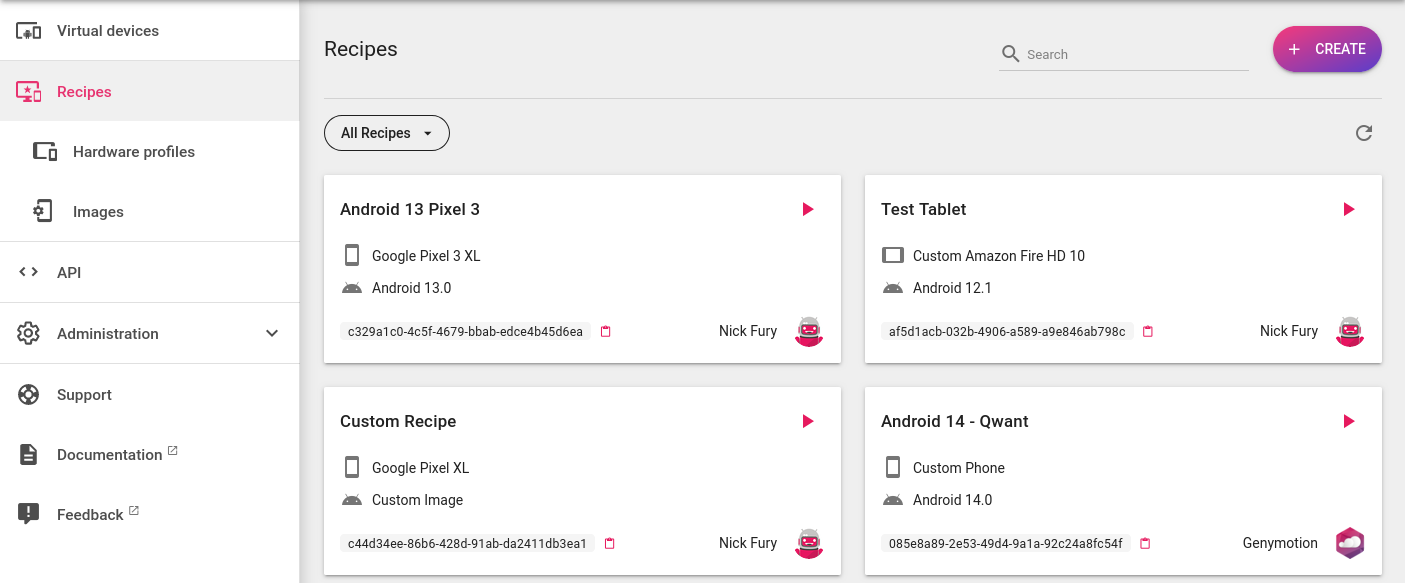
By default, both official and custom recipes are displayed. To filter the view, click the drop-down list button:
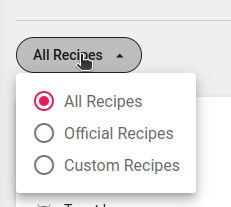
and select:
- All Recipes to display all the recipes (default)
- Official Recipes to display the official (template) recipes
- Custom Recipes to display your own and shared custom recipes
You can also use the Search bar in the upper-right hand corner to find a specific recipe by its name or UUID.
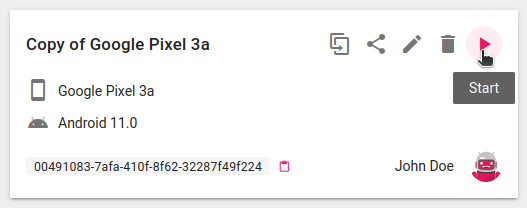
Start a virtual device
To start a virtual device from a recipe, click  on the desired recipe card:
Create a custom recipe
See Customization
Hardware profiles
Hardware profiles define a virtual device hardware specifications, such as vCPUs, RAM and Disk size. Navigate to Recipes > Hardware profiles to display the official and/or custom hardware profiles:

You can use the drop-down list button to filter the view:

and select:
- All Hardware profiles to display both the official and custom profiles (default)
- Official Hardware profiles to display the official profiles only
- Custom Hardware profiles to display your custom profiles only
You can also use the Search bar in the upper-right hand corner to find a specific hardware profile by its name.
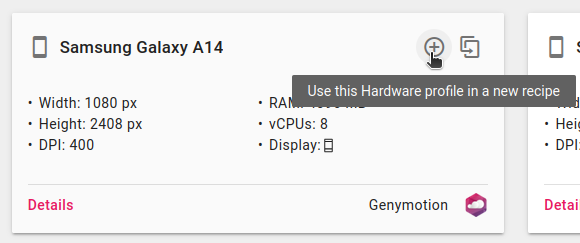
Create a custom recipe from a hardware profile
It is possible to create a custom recipe from a hardware profile.
To do so, click on the Hardware profile card:
Create custom hardware profiles
See Customization
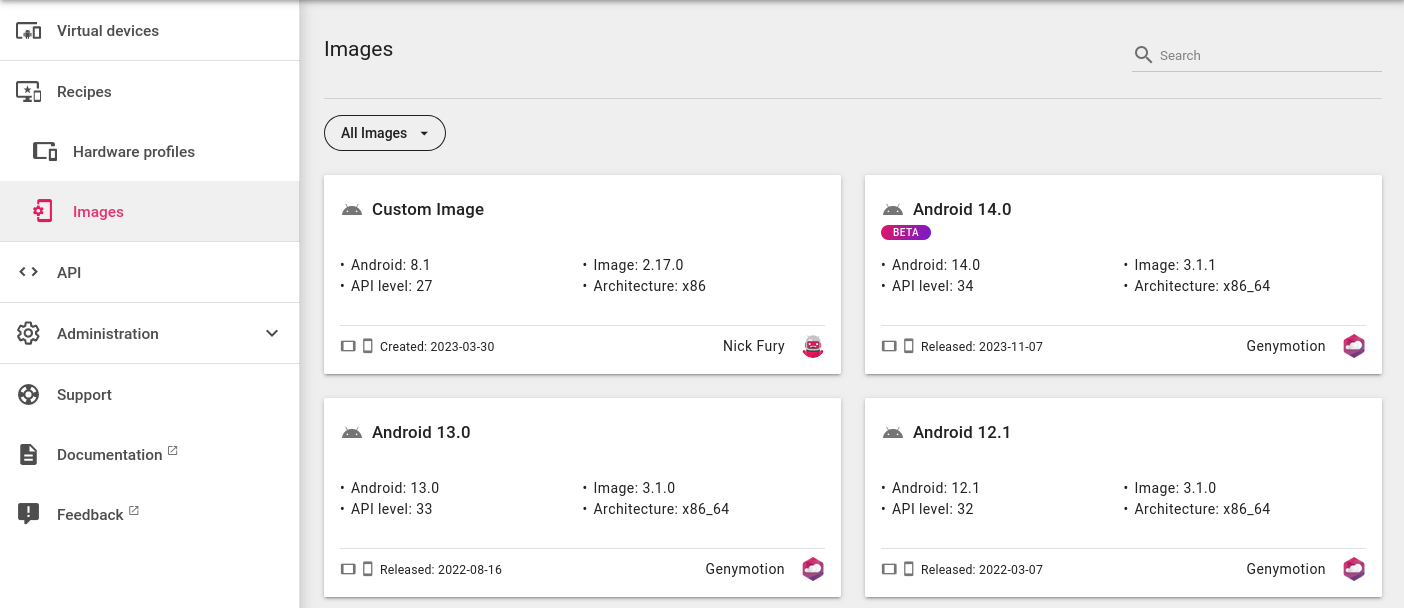
Images
Images are virtual devices Android OS disk images. Currently available official images are:
- Android 16.0 (beta)
- Android 15.0
- Android 14.0
- Android 13.0
- Android 12.1
- Android 12.0
- Android 11.0
- Android 10.0
- Android 9.0 Pie
x86/x86_64 images are deprecated and will be removed after March 30, 2026.
- Android 14.0
- Android 13.0
- Android 12.1
- Android 12.0
- Android 11.0
- Android 10.0
- Android 9.0 Pie
- Android 8.0 Oreo
- Android 7.1 Nougat
- Android 7.0 Nougat
- Android 6.0 Marshmallow
- Android 5.1 Lollipop
- Android 5.0 Lollipop
Navigate to Recipes > Images to display the official and/or custom images:
You can use the drop-down list button to filter the view:
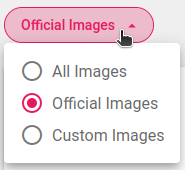
and select:
- All images to display both the official and custom images (default)
- Official Images to display the official images only
- Custom Images to display your custom images only
You can also use the Search bar in the upper-right hand corner to find a specific image.
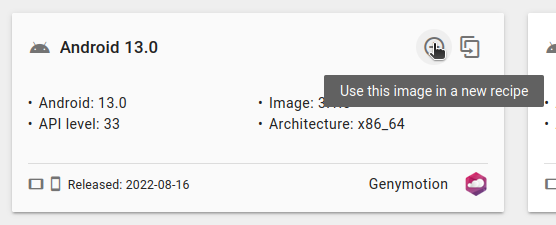
Create a custom recipe from an Image
It is possible to create a custom recipe from an image.
To do so, click on the Image card:
Create custom images
See Customization
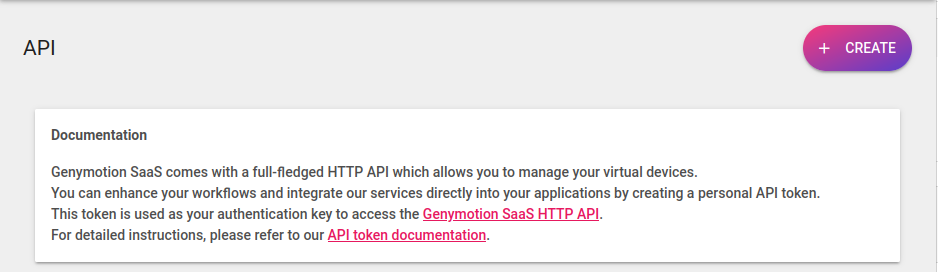
Documentation
This menu links to this documentation.
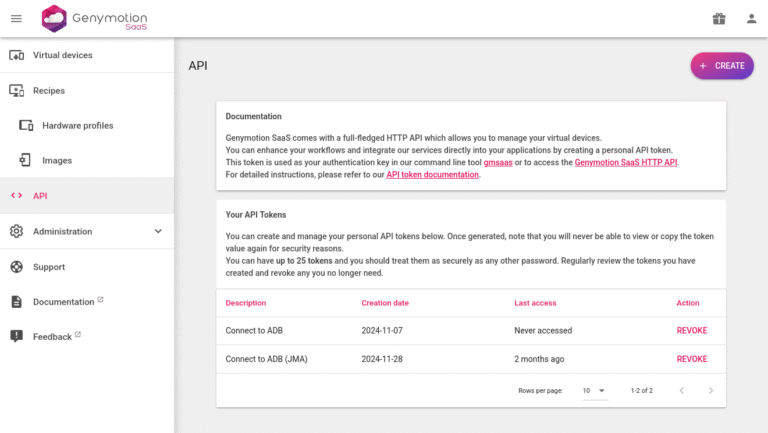
API
In the API menu, you can generate and manage API tokens to use with gmsaas, the HTTP API and our open-source Javascript SDK:
Create a new Token
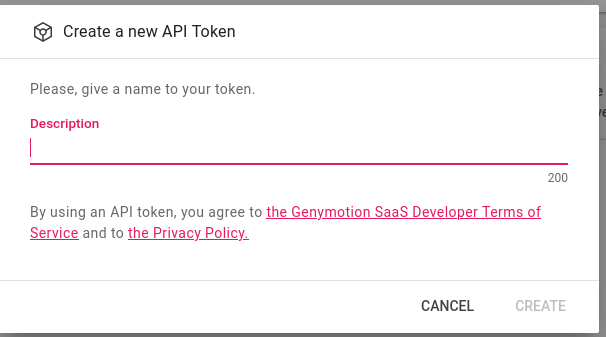
To create a Token, click on "Create":
A popup will open. Then, give a description to your token and click "CREATE" when done:
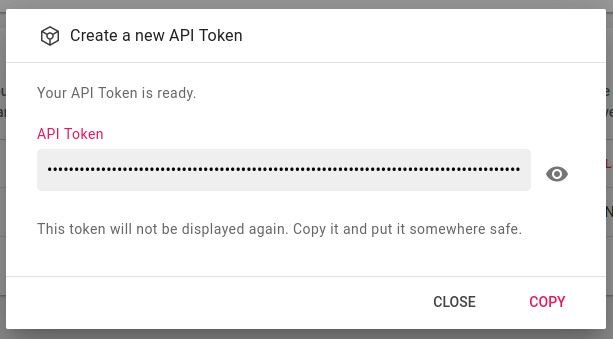
Your new token will be displayed. You can then copy it to your computer clipboard and paste it somewhere safe:
Once a token has been created, it will never be possible to view or copy its value again. Make sure to copy the token at this point and store it in a safe place.
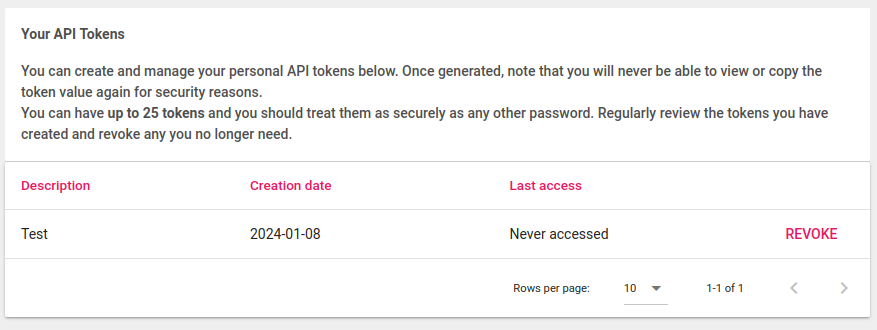
When done, your newly created token will be listed in the Your API Tokens section:
You can only have up to 25 tokens
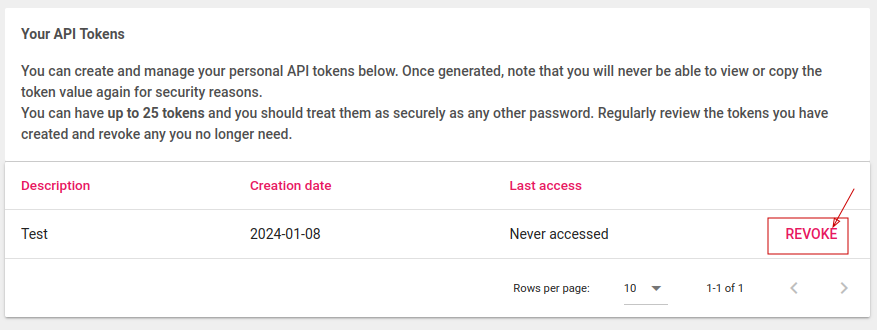
Revoke a Token
You can revoke any created Token at any time by Clicking REVOKE in the Your API Tokens section:
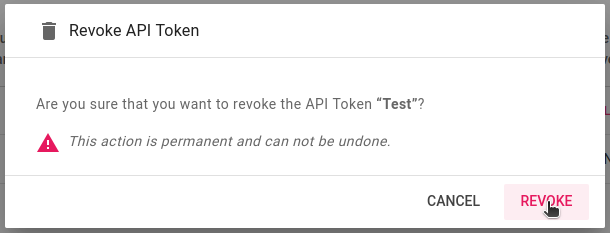
Click REVOKE again to confirm:
Revoking a Token is a permanent action and cannot be undone.
API Reference
Click on Genymotion SaaS HTTP API link from the Documentation section or follow this link: https://developer.genymotion.com/saas to access the HTTP API reference.
Support
If you encounter any problems while using Genymotion SaaS, you can reach our help center by clicking on this menu or use the  widget on the bottom of the page and enter your problem description.
You can also Contact us and attach a file to your request (it must not exceed 20MB). Our support team will do their best to solve your issue as quickly as possible.
Please write in English so that we can process your request faster.
Administration
This section is only available for the manager of the organization. Please refer to Administration Interface for more information.
Status
This section displays the current status of Genymotion SaaS services. Detailed status can also be found at https://status.genymotion.com