Genymotion PaaS Basic Usage
Access the device display and interface
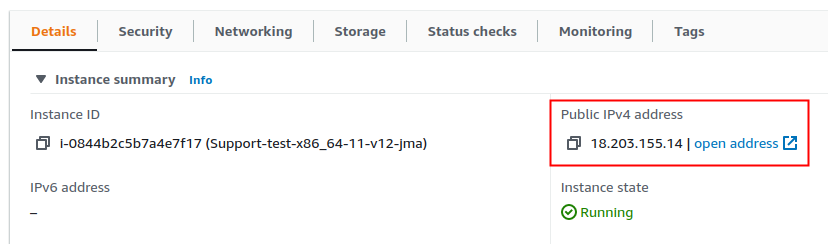
From the EC2 dashboard, select the instance you want to access. In the Details section at the bottom, copy the hostname or public IP and paste it to your web browser, or click open address :
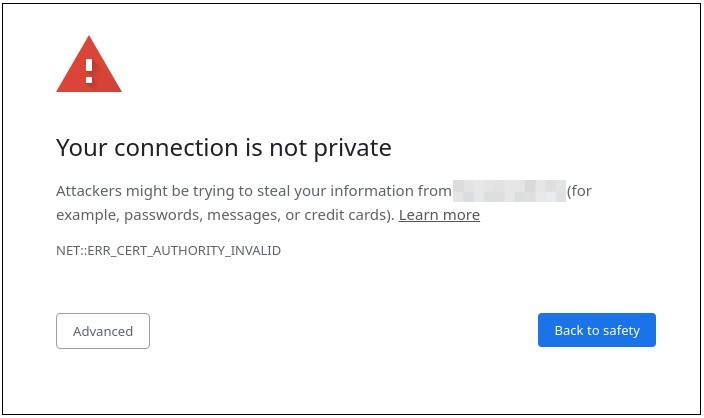
You will get this warning because our certificate is self-signed:
To remove this warning permanently, you must install a trusted certificate.
Click Advanced and proceed to the address. Authenticate yourself:
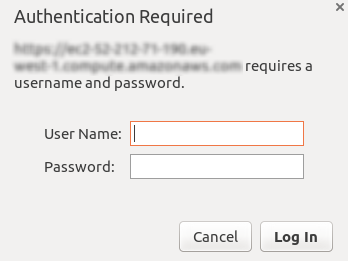
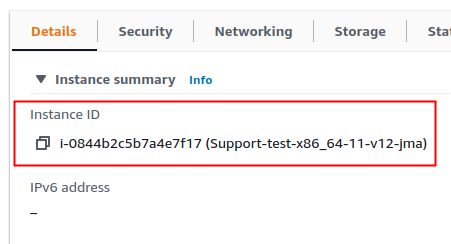
By default, the username is genymotion and the password is the instance ID:
- Start your instance.
-
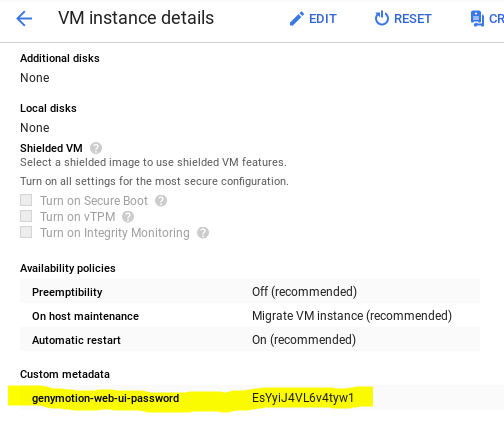
Click on the instance name and copy the temporary Web UI password:
-
Get back to the main VM Instances page and click on the instance External IP:

-
You will have the following warning because our certificate is auto-signed:
To remove this warning permanently, you must install a trusted certificate.
Click on Advanced and Proceed to XX.XX.XX.XX (unsafe) to connect.
-
You will then have to authenticate yourself. Enter username
genymotionand paste the Web UI password:
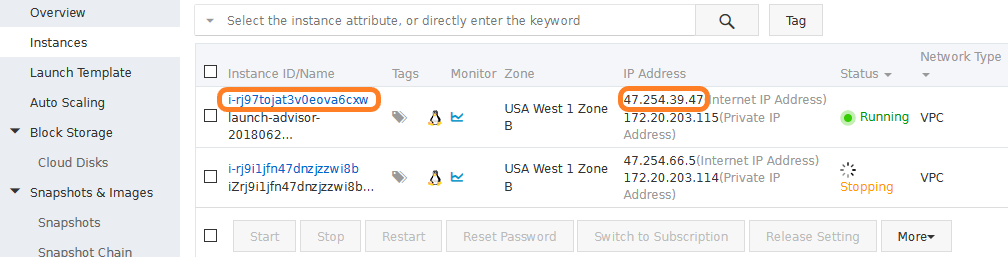
- From the management console, in Instances, select the running instance you want to access.
-
In the IP address column, copy the Internet IP address and paste it to your web browser. A connection warning will pop up:
To remove this warning permanently, you must install a trusted certificate.
Click on Advanced and Proceed to XX.XX.XX.XX (unsafe) to connect. You will then have to authenticate yourself:
-
By default, the username is genymotion and the password is the Instance ID of the instance you can retrieve from column Instance ID/Name:
From the Virtual Machines section, select the virtual machine you want to access. In the Overview section, copy the public IP:
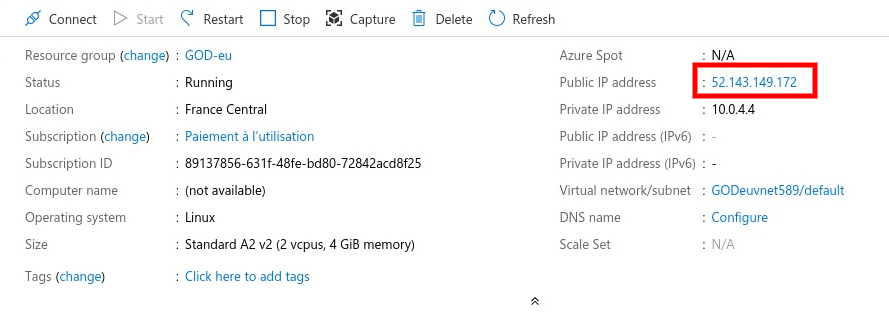
Paste the public IP in a new window. You will get the following warning because our certificate is self-signed:
To remove this warning permanently, you must install a trusted certificate. Otherwise, just ignore the warning and proceed.
Click on Advanced and Proceed to XX.XX.XX.XX (unsafe) to connect. You will then have to authenticate yourself:
The default username is genymotion and the default password is your virtual machine name.
Example
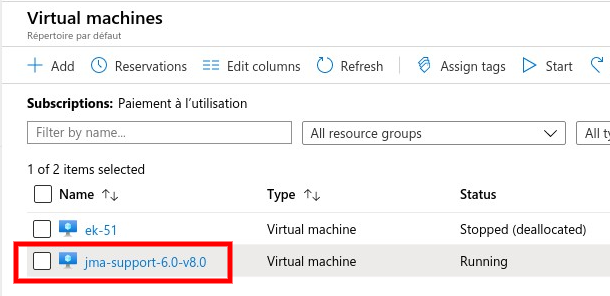
In this example, user name is "genymotion" and password is "jma-support-6.0-v8.0".
You can change the default username and password, or disable authentication. See Change authentication.
Change locale
In the device display top bar, click to change the language of the user interface:
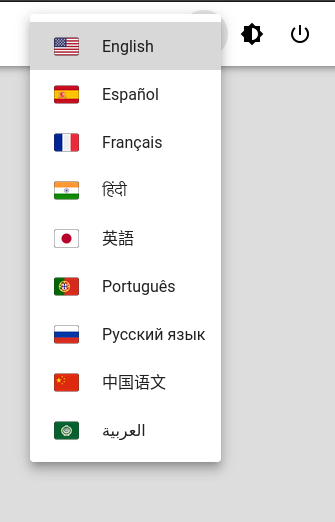
This only changes the web user interface language, not the device (Android) language.
Dark mode
The web UI theme now includes a dark mode. Click to switch between dark and light mode.
Power Off and Reboot
In the upper-right corner of the device display titlebar window, click on to stop or reboot your instance:

Device Logcat
You can access the virtual device real time logcat using ADB or the Device logs panel:
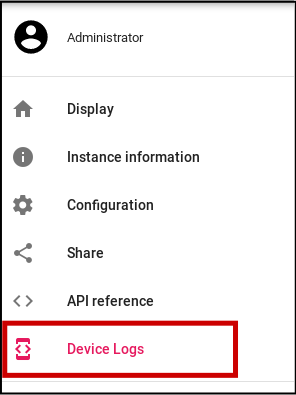
There, you can:
- Filter or search the device logcat
- Clear the device logcat buffer
- Save the logcat for technical support
Device content
You can access the device content features from the Device content panel:
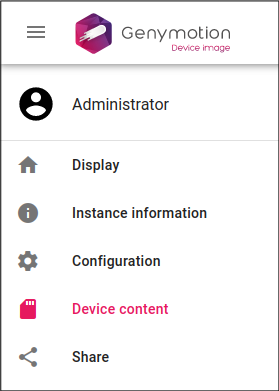
There, you can:
- Get storage information.
- Browse and manage instance files.
File browser
Browse and manage instance files with this box:

You can perform the following actions:
- Create a folder: Click

-
Rename/Delete a folder:
- Go to the desired folder by clicking on it.
- Click
 in the file browser navigation bar.
 - Click
 or
or  .
.
-
Upload a file: Click

-
Download/Rename/Delete a file:
- Click
 on the desired file.
 - Click
 or or
or or
- Click
Packages
Click  on the desired package to start the installation:
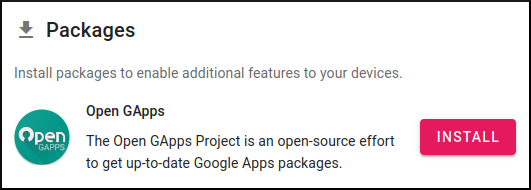
Once a package has been installed, it cannot be removed.
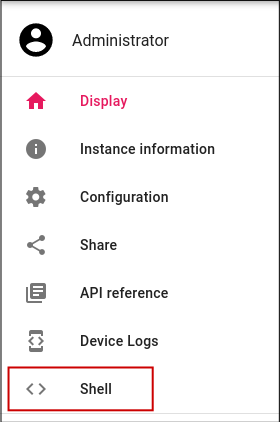
Shell
It is now possible to access the instance shell from the front end user interface, by clicking Shell in the left bar menu:
You can then input shell commands:

SSH Keys Management
This features allows you to add other SSH keys and/or remove existing ones. It also sets the persist.god.keep_ssh_keys property to true, so changes are kept after reboot or restart.
It is also possible to edit keys manually in /data/ssh/authorized_keys.
Supported SSH key types are: ssh-rsa, ssh-ed25519, ecdsa-sha2-nistp256, ecdsa-sha2-nistp384 and ecdsa-sha2-nistp521.
Go to Configuration and the SSH Keys box:
Add a new SSH keys
Click in the text field, copy/paste your SSH public key and press return. If the key is valid, the APPLY button will become available - click the button to apply the change:
If a private or invalid key is input, an error will be display and the APPLY button will remain greyed out.
Remove an SSH key
- Click the
xbutton next to the key to remove it. - Click APPLY to apply changes.
Change an SSH key
- Click the
xbutton next to the existing key to remove it and add your new key. - Click APPLY to apply changes.
Multi-touch
Multi-touch movements are emulated using the following key and mouse combinations:
| Action | Windows/Linux | macOS |
|---|---|---|
| Zoom in | Ctrl + | Cmd + |
| Zoom out | Ctrl + | Cmd + |
| Tilt forth | Ctrl + | Cmd + |
| Tilt back | Ctrl + | Cmd + |
| Rotate clockwise | Shift + Ctrl + | Shift + Cmd + |
| Rotate counterclockwise | Shift + Ctrl + | Shift + Cmd + |
Display
The display options allow you to change the device display resolution and add rounded corners to emulate a real device screen aspect.
To access them from the Web interface, go to the Configuration section of your device, or https://{your_instance_IP}/configuration:
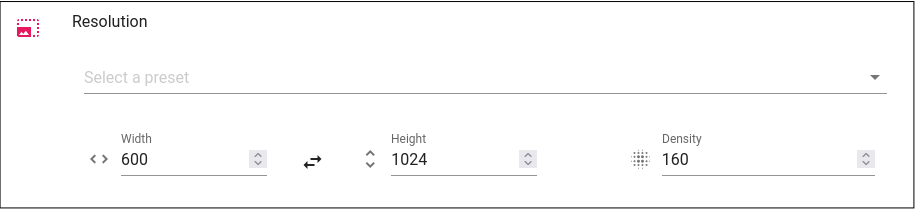
Changing Resolution
You need to reboot your device to apply the changes.
-
In the Resolution section, select a preset resolution from the dropdown list, or fill the Width, Height and Density fields to set a custom resolution:
-
Click APPLY. You will be prompted to reboot the virtual device to apply the changes; this can take several seconds.
Android geometry (size and density) can be changed with the persist.graph_mode and persist.dpi properties. You can use adb or ssh and run the following commands:
Note
{WidthxHeight-Depth}is the desired resolution - for example, 720x1280-32{dpi}is the desired density - for example, 240
Change resolution:
adb shell setprop persist.graph_mode {WidthxHeight-Depth}
ssh -i key.pem shell@{instance_public_IP} 'su -c "setprop persist.graph_mode {WidthxHeight-Depth}"'
Change density:
adb shell setprop persist.dpi {dpi}
ssh -i key.pem shell@{instance_public_IP} 'su -c "setprop persist.dpi {dpi}"'
Reboot the device to apply the changes.
Use the POST method and call the API /android/resolution to set the following variables:
width: the display width. Default value is 800.height: the display height. Default value is 600.dpi: the display density. Default value is 260.
Example
curl -u username:password -X 'POST' \
'https://34.244.25.10/api/v1/android/resolution' \
-H 'accept: application/json' \
-H 'Content-Type: application/json' \
-d '{
"width": 800,
"height": 600,
"dpi": 260
}'
Please refer to Device HTTP API for more information.
Rounded corners
This feature is not available with Android Automotive
-
In the Rounded corners section, fill the Padding, Bottom radius and Top radius fields with values. Values must be positive integers:

-
Click APPLY. You will be prompted to reboot the virtual device to apply the changes; this can take several seconds.
Use the PUT method and call the API /android/rounded-corners to set the following variables:
padding: the display padding. Default value is 0.topRadius: the radius of top corners display. Default value is 0.bottomRadius: the radius of bottom corners display. Default value is 0.
Example
curl -u username:password -X 'PUT' \
'https://34.244.25.10/api/v1/android/rounded-corners' \
-H 'accept: application/json' \
-H 'Content-Type: application/json' \
-d '{
"padding": 125,
"topRadius": 100,
"bottomRadius": 0
}'
Please refer to Device HTTP API for more information.
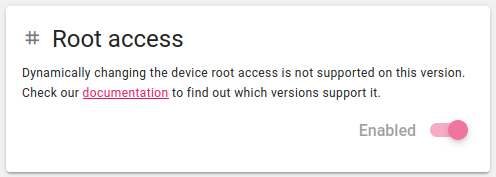
Root access
Root access can be toggled from the Web UI.
Click to toggle root access:

Note
This feature is only available with Android 10.0 and above ; the toggle switch will be disabled in older versions:
For more information about Root access, please refer to Using Root Access.
Kiosk mode
If you want a user to interact with your application and nothing else, you can configure the virtual device so that it turns into a kiosk mode, making it a single-purpose tool.
- Install and launch the application
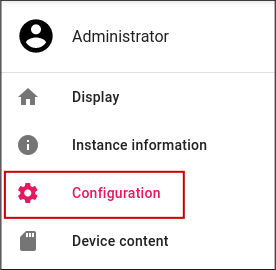
-
Open the Configuration panel:
-
In the Kiosk box, you can kiosk and unkiosk the application by clicking the toggle button:

If you are using an unrooted (user build) image, you need to enable root access and run adb root to use the commands below.
- Connect to your virtual device with ADB or SSH
- Start the application you want to lock in kiosk mode
- Once the application is started, use the following commands to lock or unlock it:
Lock:
adb shell cmd activity kiosk start
ssh -i key.pem shell@{instance_public_IP} 'su -c "cmd activity kiosk start"'
Unlock:
adb shell cmd activity kiosk stop
ssh -i key.pem shell@{instance_public_IP} 'su -c "cmd activity kiosk stop"'
To lock an application, you can use the POST method and call the API /configuration/kiosk. To unlock it, use the DELETE method and call the API /configuration/kiosk.
For detailed instructions, please refer to Genymotion HTTP API
In kiosk mode, the status bar is hidden and cannot be scrolled down and the Back or Home buttons are unavailable.
If within your application you start another application, this might not work depending on how this application is started. For more information, please refer to the LockTask mode from Android DeviceOwner APIs.
Admin device owner
A default admin device owner is set to make sure kiosk toggle is always available. If the admin device owner must be changed for some reason, it is possible to disable it by setting the persist.genymotion.device_owner property to false. This can easily be done with ADB, with the command:
adb shell setprop persist.genymotion.device_owner false
Disabling the Right Toolbar
You can embed the device display with our web player javascript SDK and select which widget to show/hide.
Changing Product Properties
This features allows you to edit the build.prop to emulate a real device more precisely.
Go to the Configuration panel:
And then, to the Product Properties box:
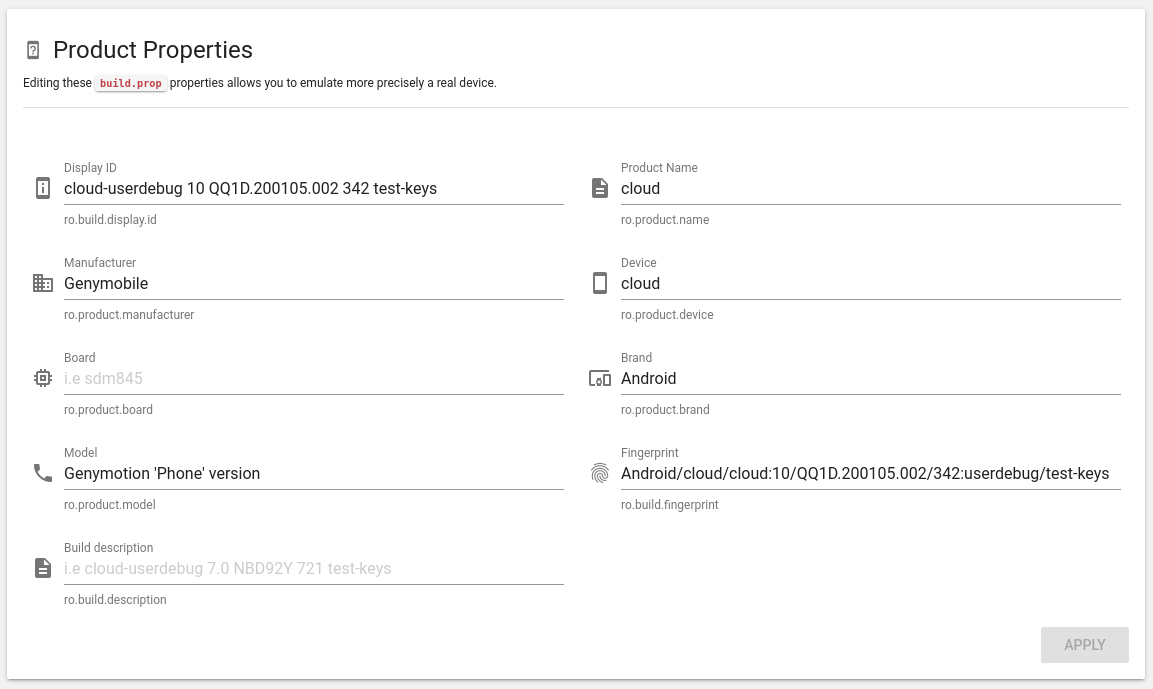
There, you can change the following build.prop properties:
| Property Name | |
|---|---|
| Display ID | ro.build.display.id |
| Product name | ro.product.name |
| Manufacturer | ro.product.manufacturer |
| Device | ro.product.device |
| Board | ro.product.board |
| Brand | ro.product.brand |
| Model | ro.product.model |
| Fingerprint | ro.build.fingerprint |
| Build description | ro.build.description |
Misc Features
The following options can be reached from the Configuration tab:
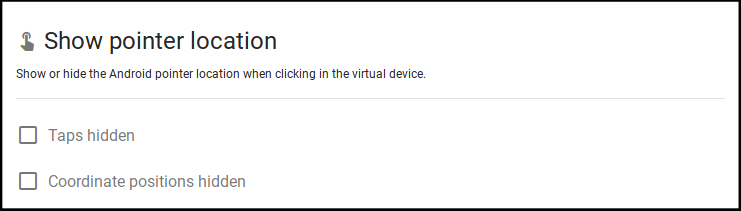
Show pointer location
Show or hide the Android pointer location when clicking in the virtual device:
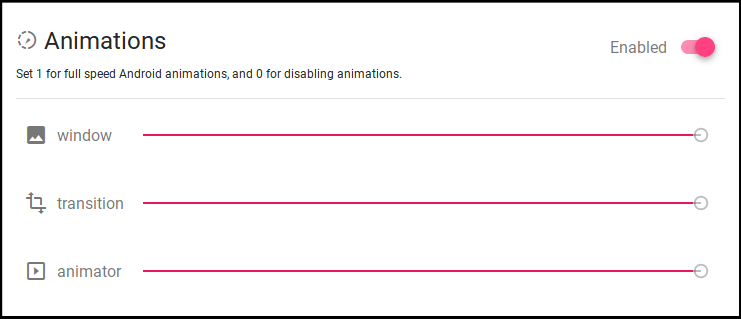
Animations
Controls Android animations speed ("0" value disables animation):
Virtual Keyboard
Enables or disables virtual keyboard:
